My life is pretty amazing right now honestly. That’s one of the reasons I decided to start writing this blog- I feel like my life is going in a really good direction and I’m probably the happiest I’ve ever been. I think it’s a good idea for everyone to keep track of the things that make them happy and of their accomplishments, and even to remember their setbacks. So…
Work
My life as a potter is going amazingly. In april of last year I started renting a space at my studio and began to get back into pottery after over a year away since graduating college. My first pieces were not great at all and I was nervous, but it felt like I was really doing the right thing. I continued to work part time as a barista, going to the studio after work and on my days off, until september- when I decided it was time to take the plunge and quit my day job. I had been thinking about quitting almost since april, but was scared- going from a steady (albeit small) paycheck to no paycheck at all was terrifying! But I knew that if I didn’t I would never be able to dedicate enough time to my pottery for it to go anywhere.
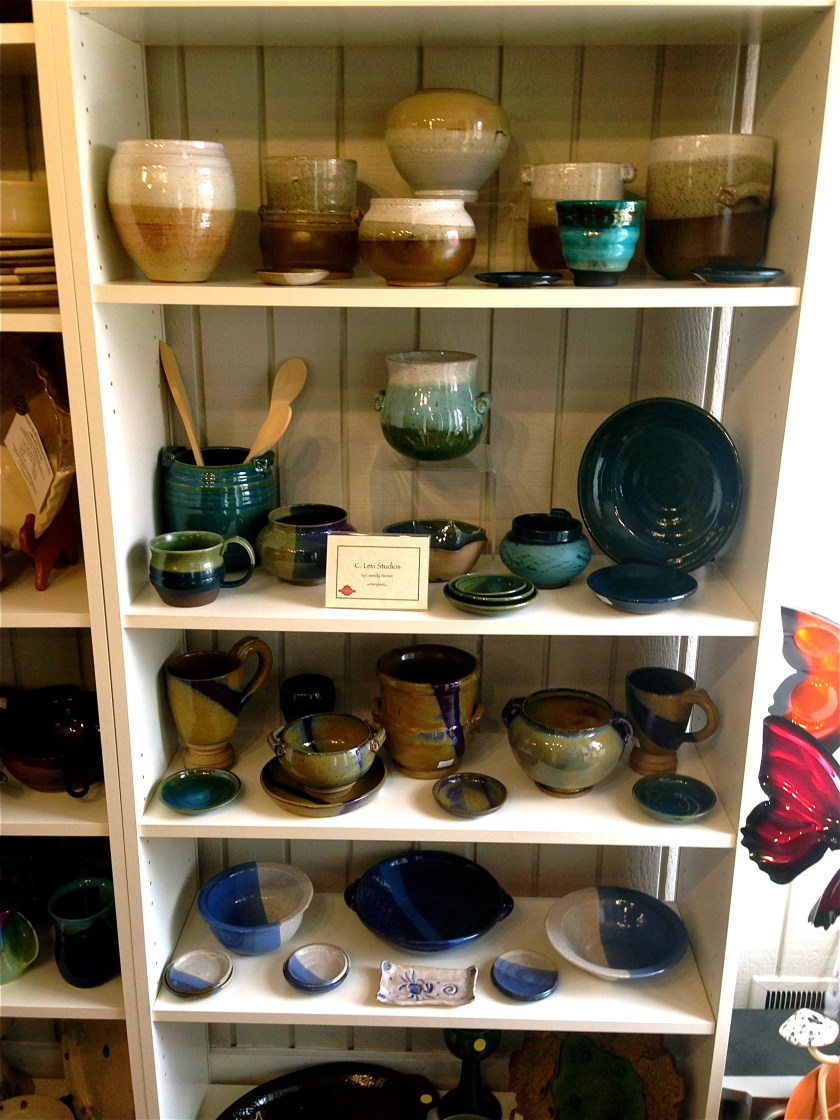
Once I quit my job as a barista my life started changing pretty quickly. I went to the studio every single day, and very quickly the quality of my work was increasing. I was working about 3 days a month at the pottery shop next door, which was my only source of income for a while, meaning I was living off my savings. Fast forward only a few months to January, and I’ve sold my work at a statewide christmas show, have my own shelf in the pottery shop, and am a teacher at my studio with a continuously running class! This month for the first time ever, I’m breaking even on my monthly expenses with income ONLY from art related activities. YES!!! It may seem small, since breaking even is literally the bare minimum required to get by, but I’m so incredibly excited and happy about this fact. It’s also the first step to actually making a living from my work! I can’t wait to see what the rest of this year brings for me.
Personal Life
My personal life is pretty amazing too. I’m living at home still (that whole no money thing slows down being able to get my own place), but in an in-law style apartment attached to my family home. It’s as close to my own apartment as I could ever hope for at this point! I live with my amazing boyfriend and we have the best friends in the world, who we now get to see multiple times a week thanks to my boyfriends new work schedule. I’m smiling as I write this because I’m THAT happy, which probably sounds dumb but its just so great! I just had my 24th birthday this week and it was probably the best birthday I’ve had in years! Nothing particularly special but just a really nice, relaxing day.
I have tons of hobbies and things that I’m interested in and I’m constantly adding more to that list. Right now my main hobbies include learning to sew, creating a perfect vegetable garden, cooking, crocheting, yoga, interior design, making DIY cleaning products to replace all my old store bought stuff, and tons more that I’ll be posting about later!
If felt really nice to write all that out and see what I’ve accomplished! My life is so different from where I was even just one year ago. I wish I had written how I felt about everything back then so I could compare! Thanks for reading!
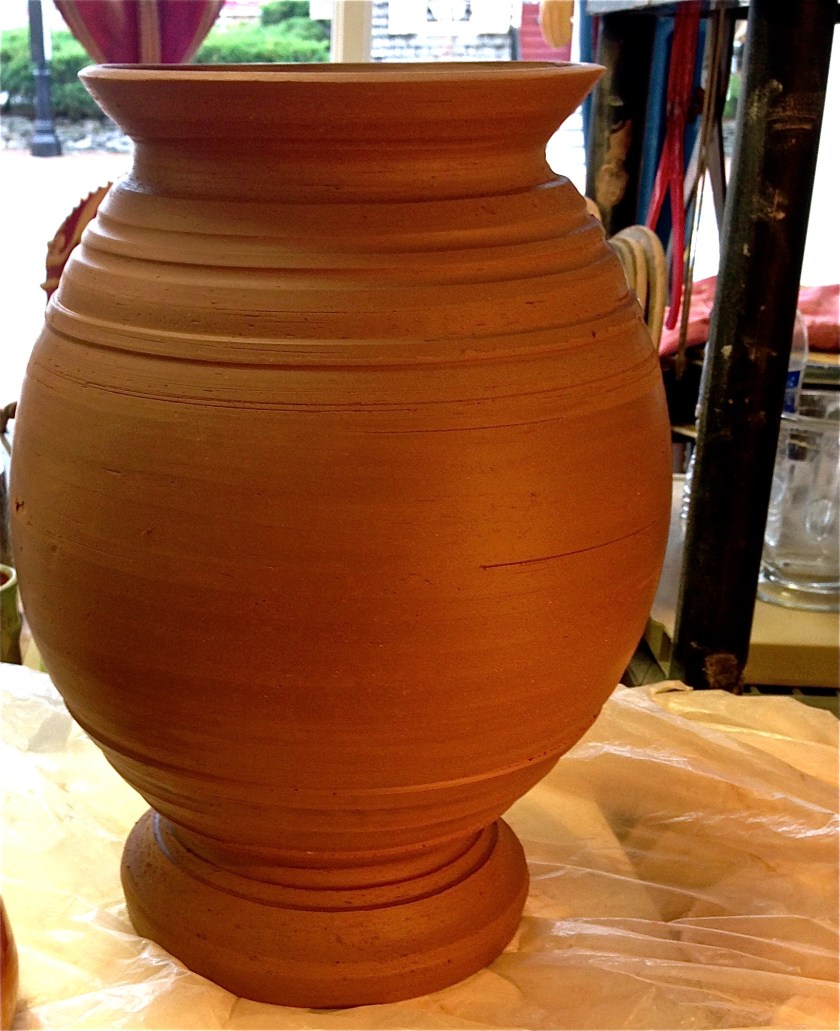
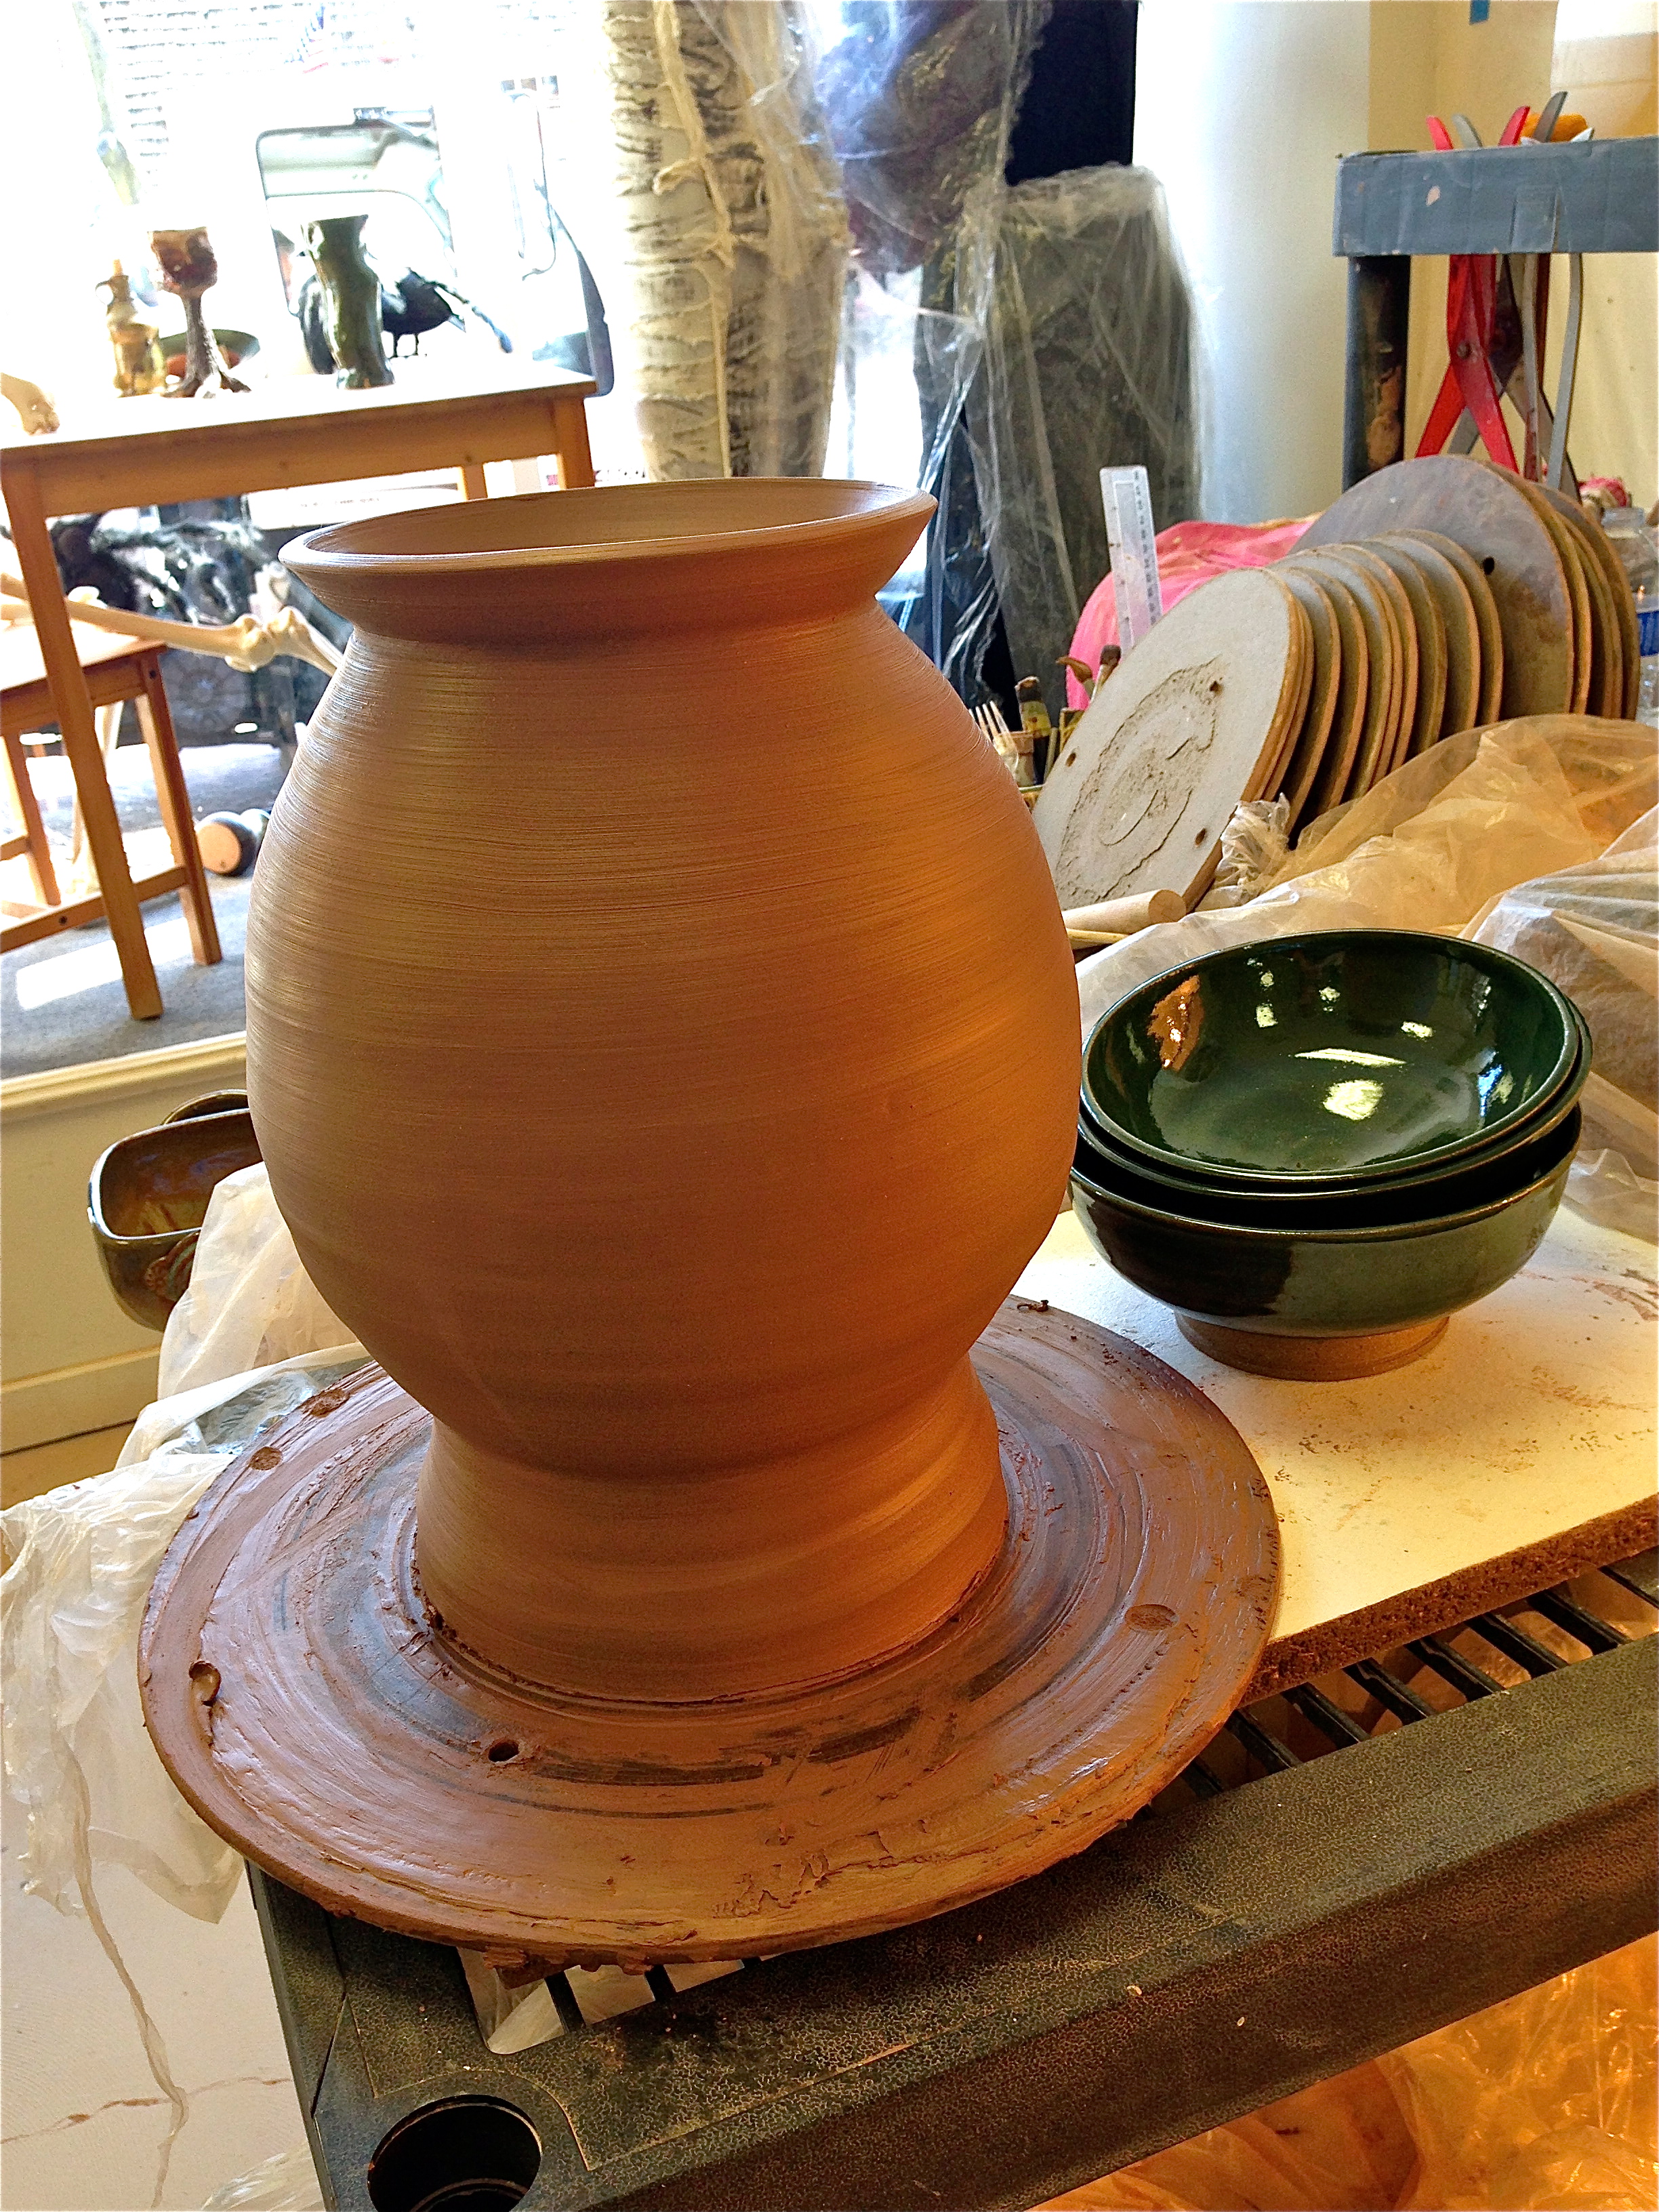
 The bottom was a little thicker than I wanted it to be but I decided the leave it thick so that I could carve that nice heavy foot. Unfortunately this came back to bite me because it ended up cracking across the bottom during the bisque firing. I decided to glaze it anyway and honestly wish that I hadn’t because it was so beautiful in its bisque color! I have another large piece, a perfect salad bowl that was about 15lbs, that also cracked along the bottom (a tragedy!) and I decided to leave it unglazed and use as a decorative storage bowl. Although these pieces didn’t turn out how I wanted they were still fun and of course a great learning experience- not only with throwing large pieces, but also with leaving things raw if it fits.
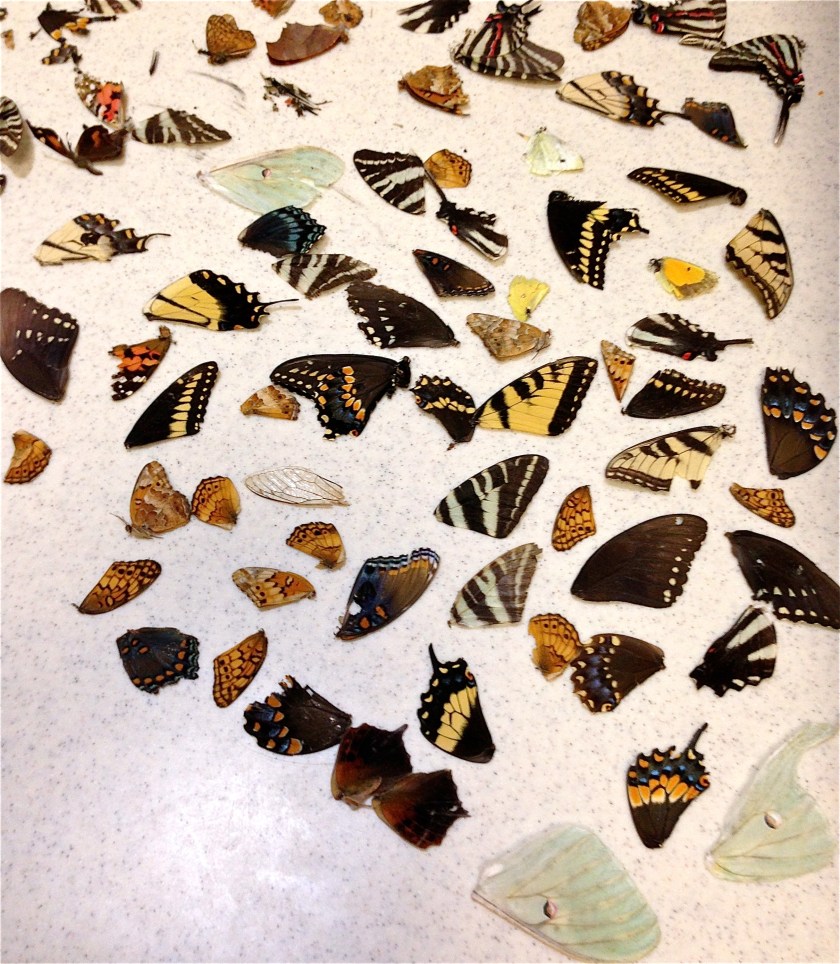 Anyway, about the butterflies! One of my good friends worked on a CSA farm last year and during his time there, found and collected quite a few wings from a variety of different types of butterflies. I would never condone killing butterflies just for their wings (which would be comparable to killing an animal for its fur in my opinion) but once it has lived a full and happy life and died naturally, I see nothing wrong with collecting its beautiful, delicate wings to give them a new life! He showed me his collection of wings the other day and I immediately remembered a gorgeous necklace I used to own made from a blue butterfly wing. I figured this was a perfect time to try out that resin kit that I had! He generously offered to let me experiment on them and keep some of the finished products. I ended up bringing home over 40 individual wings, some in matched pairs!
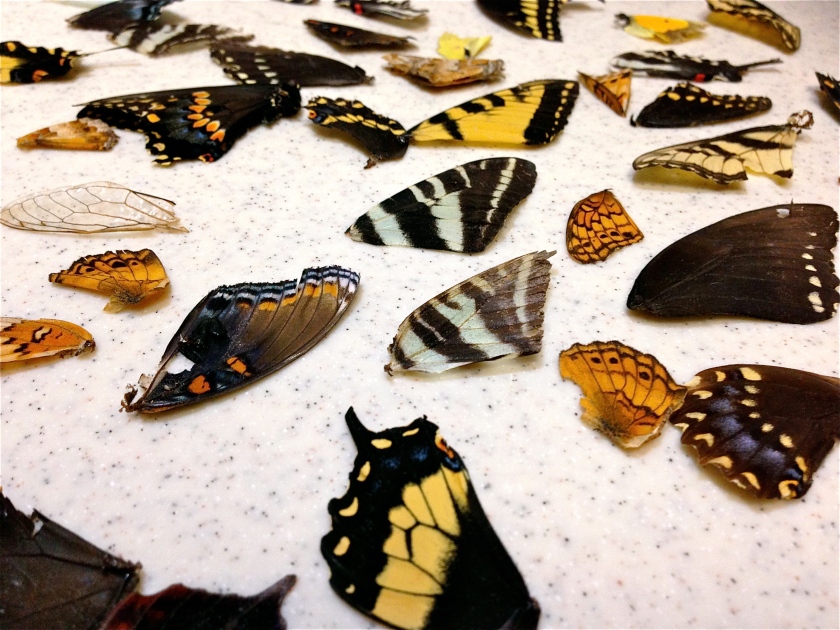 Not all of the wings are perfect and many have holes or tattered edges, as you would expect after a full life of use. This was actually kind of nice because I used the least intact ones for my practice runs without worrying about “ruining” them. After laying them all out and seeing what I had to work with, I started to get nervous. I guess I haven’t totally gotten over my fear of imperfect crafting. I read all the instructions for the resin, and realized that I didn’t have anything to use as molds; silicone is preferred, and I’ve made silicone molds before, but I didn’t have any on hand. I checked the internet for alternative resin molding products but I didn’t find much; the most promising methods seemed to be making a mold from cut and folded paper, or to simply laminate the wings. I decided to try both.
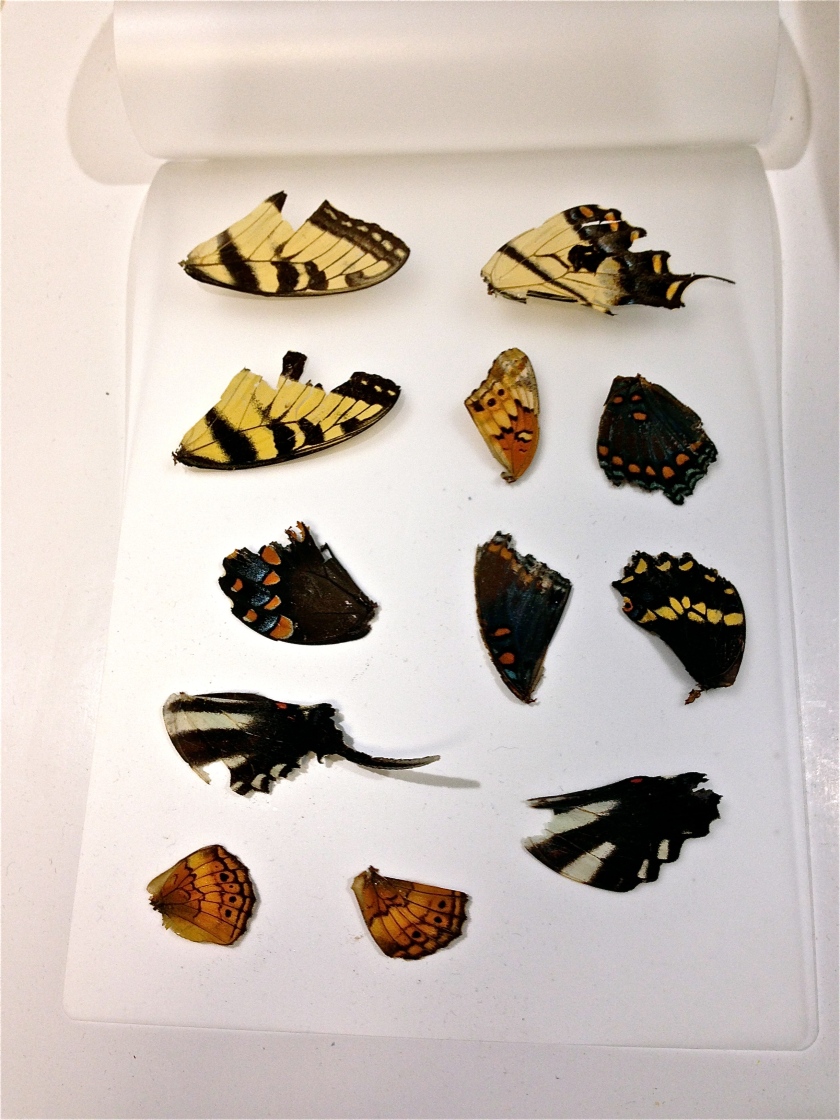 I started with lamination, using a Xerox Laminating machine that my grandma had. I laid a selection of wings out on the photo-size laminating plastic, folded the top page of the plastic over the wings very carefully, and put the whole thing into the cover booklet that comes with the machine. After the machine was pre-heated I simply slid the booklet through the machine and waited as it sealed my wings inside!
 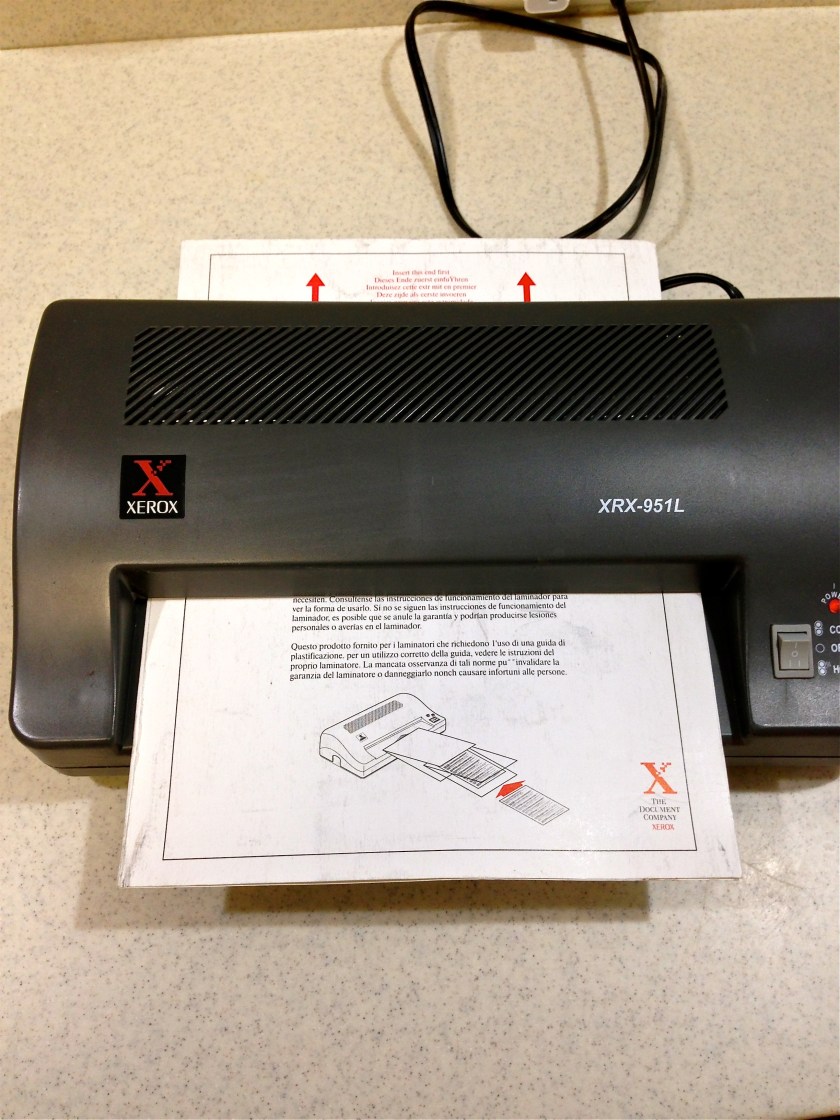 I give the finished product here a rating of about 6.5/10. The laminating paper sealed up pretty well, with only a few bubbles and pock marks between the two pages, which is irrelevant for me because I planned to cut the wings out individually. If you wanted to use the entire page without cutting out the wings this would be a very visible issue, although practicing with the laminating machine could potentially help. The wings are all sealed well with a small outline of un-laminated space around them, as is expected with laminating. They do have a slightly plastic look where air is trapped around the veins of the wings, but I think this is unavoidable.
 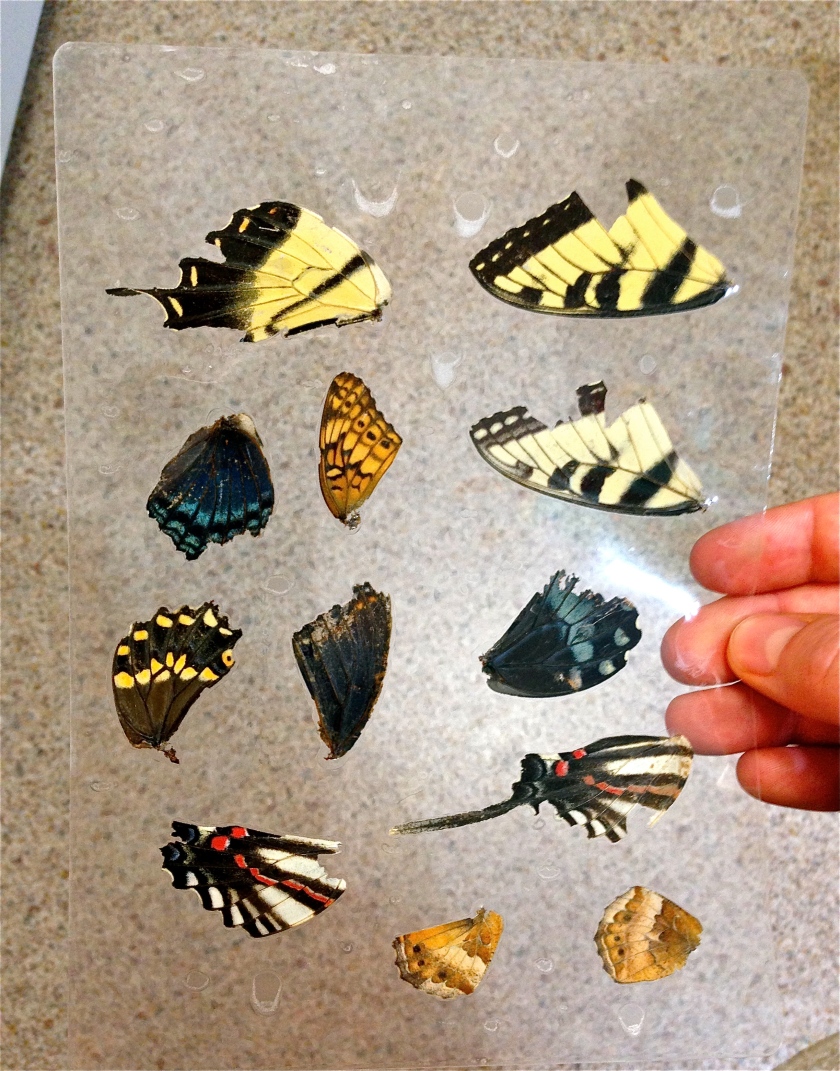 After cutting them out from the page, they are very light but sturdy. The only issue I have is that they can bend slightly, and because of the powdery coating on the wings, when bent the wing tents to buckle slightly inside the laminate, popping away from one side of the lamination plastic. It has consistently popped back to its original placement so far but I think with time this could cause the wings to deteriorate. After finishing laminating the wings, I moved on to the resin. I traced three wings on heavy card stock, 1 laminated wing and 2 un-laminated, leaving just a millimeter or so around the edges of each. I cut them out leaving another 2-3 millimeters around my drawn outline, and then cut slits into the paper so that I could fold it up to make a mold (I forgot to take pictures for this part unfortunately). I taped the insides of the walls to eliminate potential leaks and then mixed the resin according to the directions. I mixed only 2tsp total of resin and was able to fill all three molds perfectly with that amount. I started by coating the bottom of the mold with the resin, then laid the wings onto the wet resin. I positioned the wings with a toothpick and tweezers and scooped out the largest bubbles before coating the top of the wings with resin as well. Again I scooped out excess bubbles and tried my best to center the wings in the molds. And then I waited!
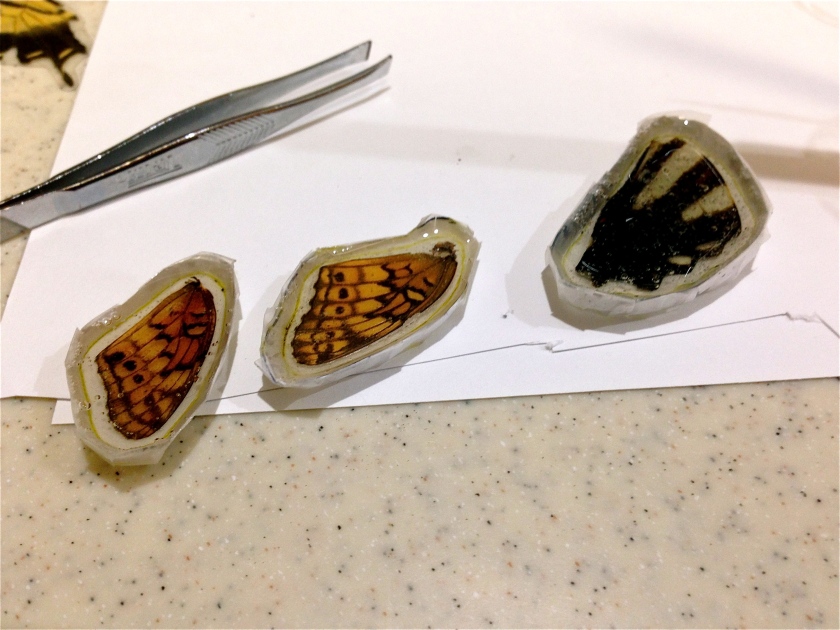 The resin gets about a 7/10 at this point. It is much more difficult to do than the laminating (which to be fair, is VERY easy), and it takes 48 full hours to cure. The time issue would be ok if I knew exactly what I’m doing but since I’m experimenting and only did 3 at a time, it drives me crazy to have to wait so long between tests! The paper molds are also just ok, they get the job done, but are tedious to make. They were easy to remove around the taped edges but I left the bottom untaped- big mistake! The paper on the bottom stuck very tightly and I had to soak it in warm water and then scrape it off, much like a stubborn sticker or price tag. The taped areas also are much smoother and clearer than the bottom now that the paper is removed. The resin itself is waterproof, fairly lightweight, and solid, if not a little bendy. It feels more like a thick rubber than I expected; I was hoping for more of a rock-hard finish. This could be because of a number of factors including the thickness of the piece (I made them only a few millimeters deep) and the possibility that I mixed the resin incorrectly, although I was careful to use even amounts of the resin and hardener. There are also some bubbles on the underside of the wings that I couldn’t see/reach with the toothpick when the resin was soft, although this seems unavoidable. The final issue with the resin is that it does remove some of the iridescence the wings originally had; the resin holds the color but the shine has dramatically faded. Overall, I think this project was a success although it didn’t turn out as beautifully as I had hoped. Glass would be the ideal covering, with a welded metal casing. Unfortunately I don’t have glass or metal working tools available to me! I’m going to continue experimenting with the resin as well as with the laminating and may even look for more options. Very thin plexiglass or plastic coverings might work although I have no idea how I’d seal the edges. I’d love to perfect the technique for this as I think the possibilities of found objects could be endless!